How to Use a Knitting Nancy
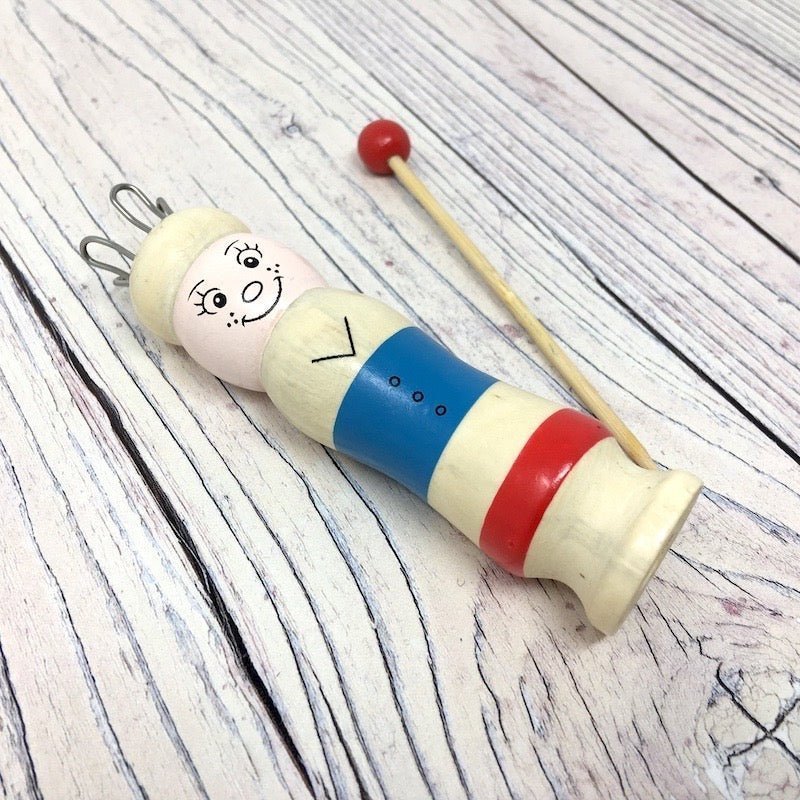
A Knitting Nancy is an early form of loom dating back over 400 years! Usually made from wood, they can also be know as a French Knitting Dolly. As a child, I spent hours creating huge long snakes of knitted cord using up odds and ends donated to me by my grandma. Perfect for introducing children to knitting, a Knitting Nancy is easy to use and can provide endless entertainment. I'd recommend this craft for children aged four plus depending on their manual dexterity. Turn your cords into placemats, jewellery, even shoe laces!
You Will Need
- Knitting Nancy;
- Yarn;
- Scissors;
- Darning needle.
Knitting Nancy Instructions
- Feed the end of your yarn through your doll until it comes out at the bottom. Hold that end taught.

- Wind your yarn around each peg as shown in the image. Don't let go of the end. Do this twice at the very start so you have two loops on each peg.

- Use your little needle (pick) to lift the bottom loop over the top loop created with your working yarn and drop it into the hole.You made your first stitch! Move to the next stitch anti-clockwise and so on until you run out of stitches. Wind the working yarn around each of the pegs again and repeat.

- Keep working around the stitches in a spiral until the cord reaches the length you want.Remember to keep hold of the end of your yarn to start with to keep your tension even. Once you cord gets longer, you can let go.
- Once you are happy with the length of your cord, it is time to finish off.Lift the next stitch off its peg using your pick. Put it over the next stitch clockwise. Pull that second stitch through the first stitch. Move the newly created stitch onto the next peg and repeat until you only have one stitch left. Cut your yarn and pull it through the last stitch. Pull tight. You can either use your darning needle to stitch this end into your cord so it is hidden or to sew the two ends together to form a loop. Have a look at my Pinterest Board for some ideas as to what you can make with your finished cord.
