


Layered colour washes are a simple, relaxing way to build soft blends and beautiful backgrounds for journals, cards, lettering and mixed media art. This technique is all about transparent layers, gentle movement and letting colours mix naturally on the page.
You don’t need to be “good at painting” — just willing to play.

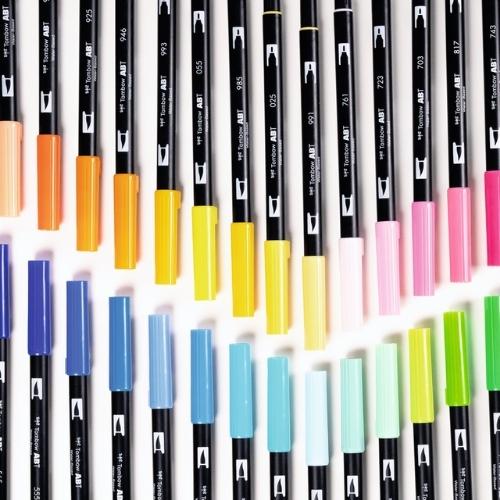
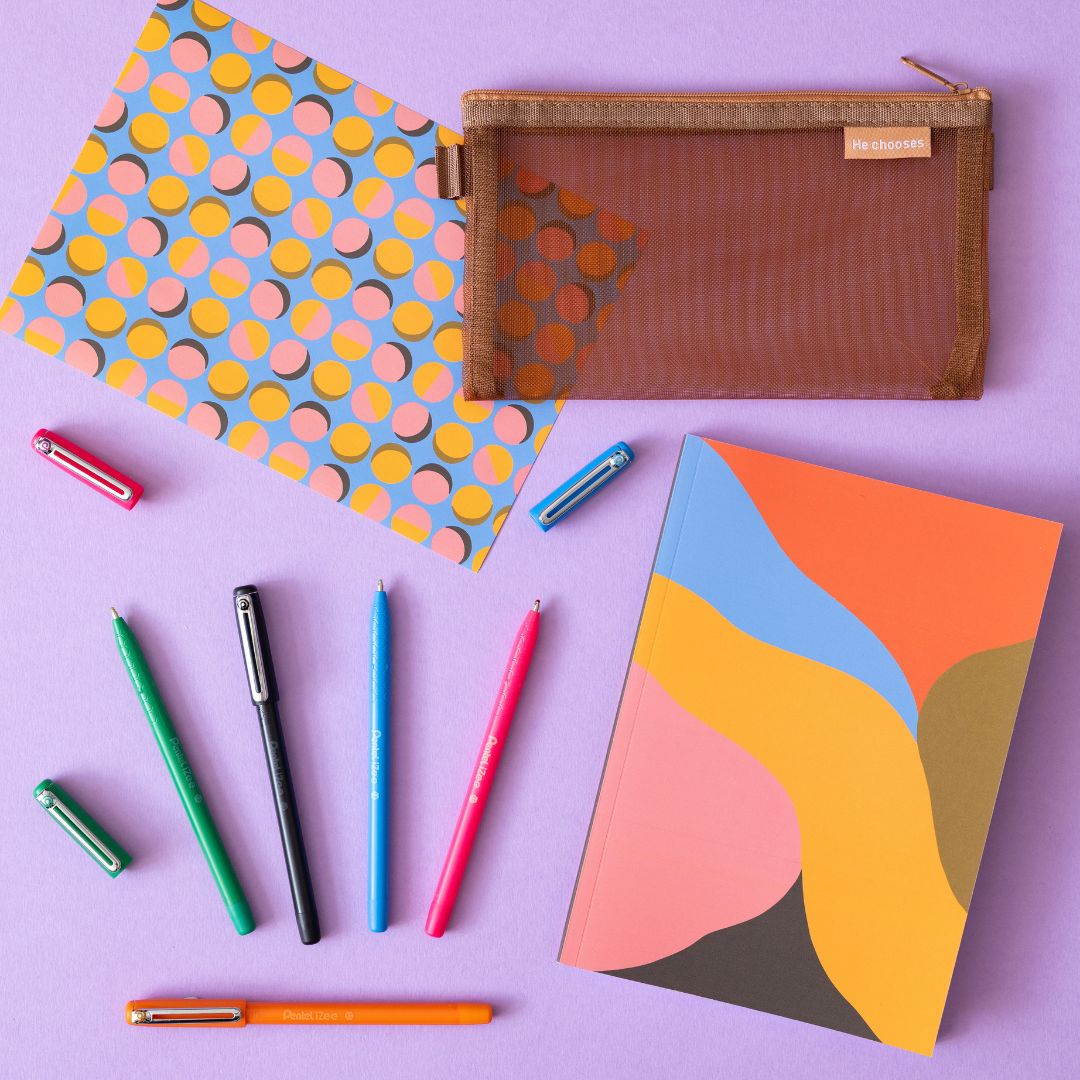
Graded wash example — excellent for explaining blending colours and creating gradients in your layered wash.
What You’ll Need
-
Water-based colour (watercolour-style brush pens, water-soluble markers, or diluted gouache)
-
A water brush or soft paintbrush
-
Mixed media or watercolour-friendly paper
-
A jar of clean water (if not using a water brush)
-
A cloth or kitchen towel for dabbing your brush
Step 1: Add Your First Layer of Colour

Start with your lightest colour.
If using brush pens or markers:
Scribble some colour directly onto the page in loose patches or soft shapes.
If using paint:
Dilute your colour with plenty of water so it’s nice and fluid, then brush it across the page in wide strokes.
Don’t try to cover everything evenly — variation makes the background more interesting.
Step 2: Activate and Spread the Colour
Use a damp brush (not dripping wet) to gently move the colour around the page.
-
Pull colour into lighter areas
-
Soften harsh edges
-
Let some areas stay darker and more concentrated

Tilt the paper slightly if you want colours to drift and blend naturally.
✨ Tip: Leave a few pale or white areas — this helps later layers stand out.
Let this first layer dry completely before moving on.
Step 3: Add a Second Colour Layer
Choose a second colour that blends nicely with the first (for example: pink + orange, blue + purple, yellow + green).
Apply it in a few areas — not everywhere. You want layers, not full coverage.
Activate with your brush again, gently blending where colours meet. Some mixing is beautiful — but avoid overworking it or you’ll lose the soft effect.
Let it dry fully.
Step 4: Build Depth with a Third Layer (Optional)
For more depth, add a slightly darker or more intense shade in small areas.
This might be:
-
The edge of the page
-
One corner
-
Behind where a focal point will go (like lettering or a collage element)
Blend lightly, keeping this layer more controlled and less watery than the first.
Dry again before adding details.
Step 5: Add Details Over the Top
Once everything is dry, your layered wash becomes the perfect background.

You can now add:
-
Brush lettering quotes
-
Fineliner illustrations
-
Paint pen highlights or patterns
-
Collage elements
-
White gel pen details
Because the background is layered and textured, even simple line work looks more interesting.
Extra Tips for Beautiful Washes
✔ Work from light to dark
✔ Always let layers dry before adding more
✔ Use more water for soft blends, less for stronger colour
✔ Don’t over-blend — a little unevenness adds charm
✔ Try different colour moods (sunset tones, ocean blues, soft pastels)

Layered colour washes are perfect for loosening up creatively. No pressure, no perfection — just colour, water and watching beautiful textures appear on the page 💜