


Use these instructions and a 'Make Your Own Cross Stitch' kit from Under the Rowan Trees to create a fantastic and unique gift.
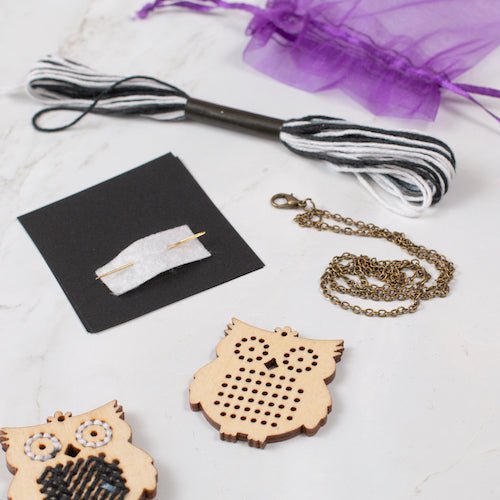
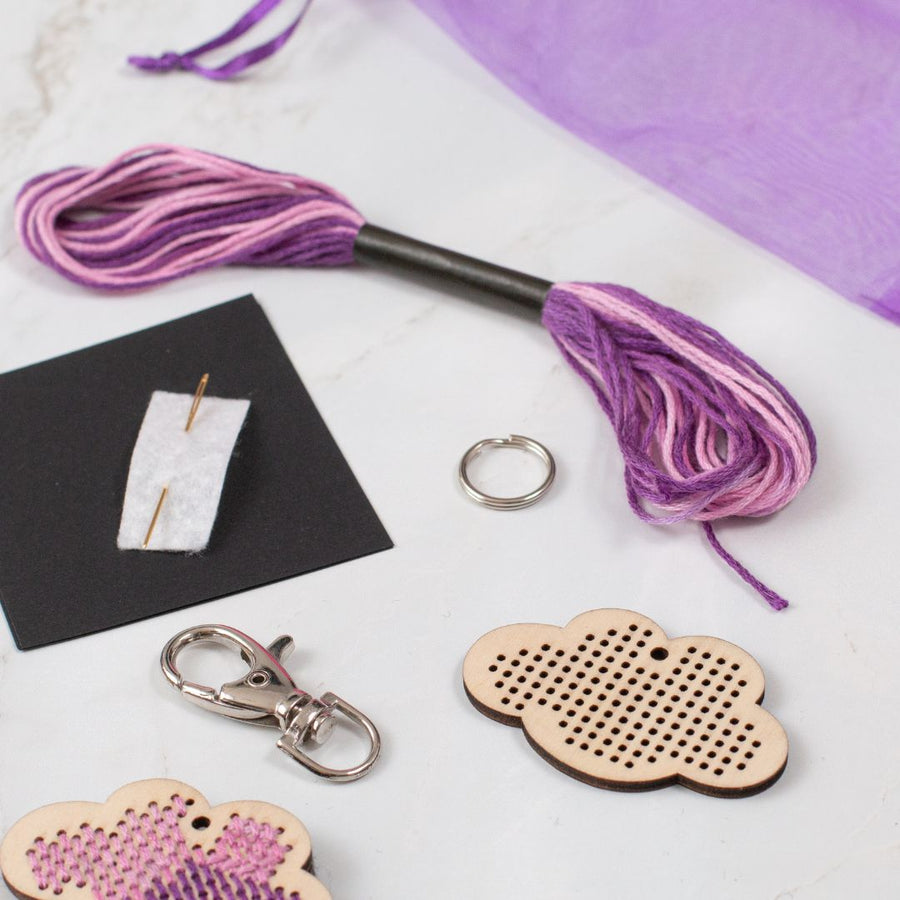
Kit Contents
- Wooden shape
- Key-ring /necklace /brooch /ribbon
- Cross stitch thread
- Tapestry needle
- Felt backing

You Will Need
- Scissors
- A sketch of how you would like your design to look or freestyle!
- Adult supervision
Steps
- Once you have decided on your design, thread your needle with your chosen colour. Some threads can be split to give you thinner strands but not all. You can either tie a knot in the end or if you want to keep the back of your cross stitch neat and flat, hold the end of the thread under your finger and stitch over it.
- Choose where you wish to start. Your design will be neater if you work across your pattern rather than jumping around.
- Insert your needle through one of the holes and pull the thread almost all of the way through. Put the needle back down through a hole diagonally opposite. Bring the needle back up through another hole and back down again diagonally to create an 'X'. You can also use / or \ for different effects.
- Keep doing this until you have completed your design.

- To finish, you can either tie a knot at the end of your work, thread your needle under a few stitches to hold the end in place or glue down both of your ends carefully so that they don't come undone.
- Carefully cut your piece of felt to the right shape and stick it onto the back of your cross stitch to hide your work. The black felt is self-adhesive so peel off the backing once you are ready.
- Attach your keyring, necklace or tie a ribbon through the hole.
- Ta-da!

Once you have finished we would love to see your finished work on Facebook or Instagram using #rowantreeskits