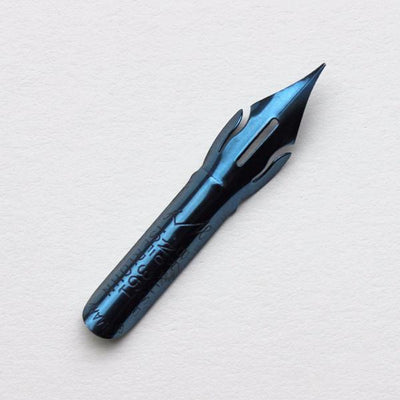
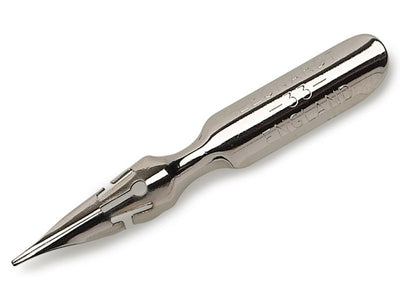
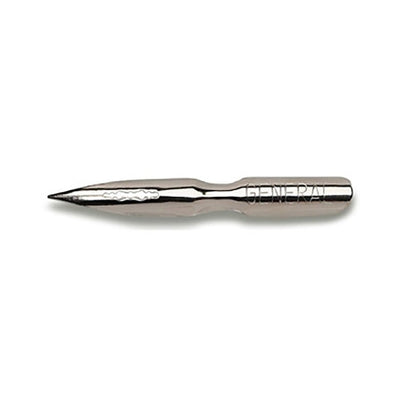
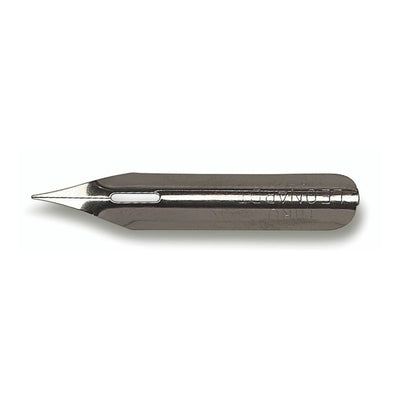
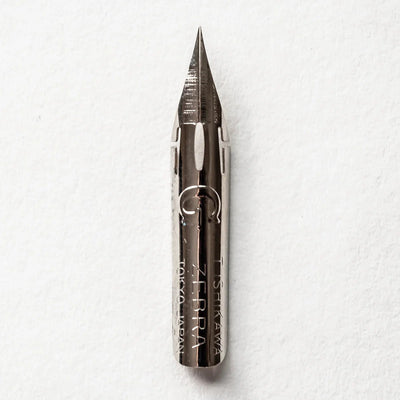
Calligraphy is a beautiful art form that requires precision and attention to detail. Whether you are a beginner or an experienced calligrapher, it is important to properly prepare your calligraphy nib before its first use. This ensures that the ink flows smoothly and consistently, allowing you to create stunning lettering and designs. In this blog post, we will explore three different methods to prepare a calligraphy nib: using toothpaste, a flame, or a potato.
Why is it important to prepare a calligraphy nib?
Before diving into the different methods, let's first understand why it is important to prepare a calligraphy nib. When a nib is manufactured, it goes through a process that leaves behind residue and oils. These residues can affect the flow of ink and cause inconsistencies in your writing. By preparing the nib, you remove these residues and ensure that the ink flows smoothly and evenly.
Method 1: Toothpaste
One common method to prepare a calligraphy nib is by using toothpaste. Start by applying a small amount of toothpaste to the nib. Gently rub the toothpaste onto the nib using your fingers or a soft cloth. Rinse the nib thoroughly with water to remove any remaining toothpaste. Dry the nib with a clean cloth or paper towel before attaching it to your pen holder. This method helps remove any oils or residues from the nib, ensuring optimal ink flow.
Method 2: Flame
Another method to prepare a calligraphy nib is by using a flame. Hold the nib over a flame, such as a candle or lighter, for a few seconds. Be careful not to hold it too close or for too long, as this can damage the nib. The heat from the flame helps burn off any residue or oils on the nib's surface. After heating the nib, let it cool down before attaching it to your pen holder. This method provides a quick and effective way to prepare the nib.
Method 3: Potato
Yes, you read that right – a potato! Using a potato to prepare a calligraphy nib may sound unusual, but it can be quite effective. Cut a small slice from a raw potato and gently press the nib into the cut side. Twist the nib back and forth a few times to remove any residue or oils. Rinse the nib with water to remove any potato starch and dry it thoroughly before attaching it to your pen holder. This method is gentle on the nib and helps remove any impurities.
Now that you know three different methods to prepare a calligraphy nib, you can choose the one that suits you best. Remember, preparing the nib before its first use is essential for achieving smooth and consistent ink flow. So, whether you opt for toothpaste, a flame, or a potato, take the time to properly prepare your calligraphy nib and unlock your creative potential!
